


INTRODUCTION
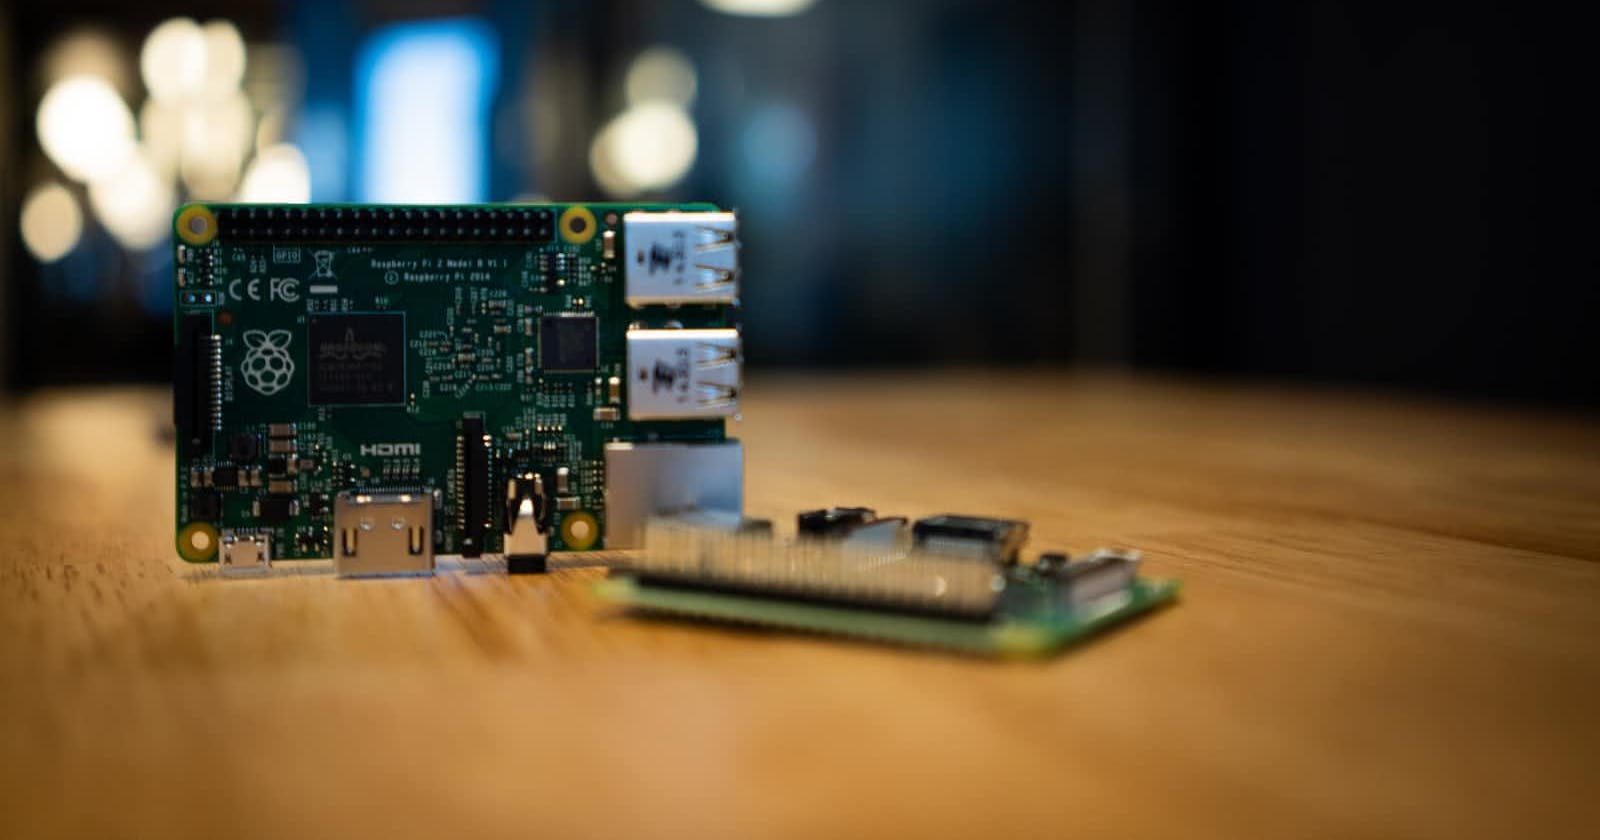
A Raspberry Pi is a single-board computer (SBC) that consists of an on-board RAM, ARM-Cortex based SoC, memory, USB ports for connecting peripherals (i.e. keyboard, mouse), MicroSD card slot, MicroUSB Power supply, WiFi/Bluetooth chip, GPIO pins for interfacing with the external world, etc. A Raspberry Pi can function as a "mini-computer" and possesses features for rapid hardware prototyping in AI, Robotics, and IoT projects.
The primary purpose of this tutorial is to learn how to set up a Raspberry Pi in a headless mode, without the need for a mouse, keyboard, or external monitor. We shall also connect to the Raspberry Pi remotely using an SSH client and VNC Viewer on a Desktop. Let's get started 🚀🚀.
WHO IS THIS ARTICLE FOR?
- Beginners who want to get started with a Raspberry Pi
- Existing users who want to learn how to connect remotely to a Raspberry Pi via a headless configuration
PRE-REQUISITES
- A Raspberry Pi 3 (Model B+) or 4
- A MicroSD Card
- A wireless router (use your phone's hotspot alternatively)
- A 5v, 2A power supply source
LEARNING OBJECTIVES
- Flash the Raspbian OS Image on an SD Card using Raspberry Pi Imager
- Configure Wireless Network Connectivity
- Connect Remotely to the Raspberry Pi on a Desktop using an SSH client and VNC Viewer
GETTING STARTED
For this tutorial, I will be using a Raspberry Pi 3 (Model B+) specifically and an 8GB MicroSD Card. You can check out the product specifications for the Pi 3 (Model B+) HERE
An introductory video from the official Raspberry Pi website can also be accessed below to understand the awesome features and benefits of the Raspberry Pi 3 (Model B+).
The next section contains specific steps to set up the Raspberry Pi in a headless mode.
Headless Mode Configuration Steps
1 Flashing the Raspbian OS on the MicroSD Card
The Raspberry Pi requires an operating system to function properly. The Raspbian OS (currently known as Raspberry Pi OS) is a Debian-based operating system optimized for the Raspberry Pi Hardware. You can check out a list of recommended operating systems from the Official Documentation
The Raspberry Pi Imager is the recommended tool for flashing the OS on the MicroSD card, the Balena Etcher tool can also be used alternatively.
Download and Install the Raspberry Pi Imager HERE
Insert your MicroSD Card into your computer and open the Raspberry Pi Imager
Choose the Raspberry Pi OS Image using the online download mode (or the custom mode by downloading the OS manually and uploading directly from your computer). The Raspberry Pi OS Image can be downloaded HERE and is about 1.1 GB large. You need to unzip the downloaded
.zipfile to get the.imgfile to be flashed on the SD Card.Select the SD Card you want to write the
.imgfile to, and click theWRITEbutton to flash the OS image on the Raspberry Pi

This process takes about 2 minutes to complete, it also creates a new boot volume in the SD Card.

2 Configuring Wireless Network Connectivity
We need to set up a wireless network configuration and SSH on the Raspberry Pi so the Raspberry Pi can connect to our local router network automatically, and also connect remotely via an SSH client. To achieve this, you only need the SSID and Password of your router for WiFi connection.
- Go to the
bootvolume of the SD Card - Create a new (empty) file called
sshin the root directory of the boot volume, this is very important to enable the SSH daemon on the Raspberry Pi.
On Linux, or Mac, you can simply run the touch command in the boot volume dir:-
$ touch ssh
On windows, you can simply create a file in notepad called ssh with no extension.
- Create a
wpa_supplicant.conffile in the root directory of the boot volume, this is where the wireless network configuration is created. Add the following content in thewpa_supplicant.conffile: -
ctrl_interface=DIR=/var/run/wpa_supplicant GROUP=netdev
update_config=1
country=<YOUR_TWO_LETTER_COUNTRY_CODE>
network={
    ssid="<YOUR_WIFI_SSID>"
    psk="<YOUR_WIFI_PASSWORD>"
}
Replace YOUR_TWO_LETTER_COUNTRY_CODE with the two-letter country code of your country i.e. NG for Nigeria, US for United States of America, FR for France, etc. You can access a list of two-letter country codes HERE
Replace YOUR_WIFI_SSID with the SSID of your Wi-Fi router and YOUR_WIFI_PASSWORD with the password of your Wi-Fi router. Kindly ensure your type all these correctly to avoid painful troubleshooting in the future.
3 Powering the Raspberry Pi
The recommended way of powering a Raspberry Pi is via the MicroUSB port using a 5V,2A power supply, however, a Raspberry Pi can be alternatively powered via the GPIO pins. Check out this article for different methods of powering a Raspberry Pi.
To power the Raspberry Pi: -
- Safely Eject the SD Card from your computer and safely insert it in the MicroSD card slot of the Raspberry Pi
- Connect a 5V,2A power supply to the MicroUSB port
- A red light should come on indicating that the Raspberry Pi is connected to power
- Check the list of connected devices on your Wi-Fi router to confirm if the
Piis connected successfully.
4 Connecting to the Pi via SSH
To connect to the Pi via SSH, you need to get the IP address of the Raspberry Pi. The easiest way to get the IP address of the Raspberry Pi is from the list of connected devices on your Wi-Fi router. If you used a mobile phone's hotspot as your Wi-Fi router, you can easily check this from the Mobile Hotspot and Tethering section in the phone's settings. Alternatively, you can follow the steps in this Article to identify the devices connected to your Wi-Fi router.
After identifying the Raspberry Pi's IP address i.e. 192.168.43.110, you can easily connect via SSH on your terminal or an ssh client i.e. Putty. For this example, I shall be connecting Windows 10 command line which has a built-in SSH client.
$ ssh pi@<ip-address>
Enter the password of the Raspberry Pi, the default password is raspberry
 Awesome, we have successfully connected to the Raspberry Pi via SSH. we can run any Linux command in the Raspberry Pi terminal to test the connection.
5 Configuring the Raspberry Pi
In this section, we will configure the Raspberry Pi using the raspi-config tool. The raspi-config tool is a Raspberry Pi software configuration tool for configuring various settings i.e. Display resolution, Interface options, Performance options, etc.
To initialize the raspi-config tool, run the following command in the terminal: -
$ sudo raspi-config
This should open the interface for the configuration tool, you can navigate through several options using the arrow keys.

To configure the Raspberry Pi to boot into the Desktop environment: -
Go to System Options > Boot / Autologin > Select Desktop Autologin
To configure screen resolution: -
Go to Advanced Options > Resolution > Select your preferred resolution
To enable VNC Viewer and other interface settings, which will be used in the next section: -
Go to Interface Options > VNC > Select Enable
You can check out an extensive list of other Raspberry Pi configuration options on the Raspberry Pi Configuration Documentation.
Click on the Finish button, and select Yes to reboot the Raspberry Pi

6 Connecting Remotely via VNC Viewer
In this section, we will connect remotely to the Pi Desktop using a VNC Viewer. The Raspberry Pi OS comes with the VNC Server and VNC Connect installed, so we can easily connect to it remotely using a VNC Viewer. We will use the RealVNC VNC Viewer in this section to connect remotely to the Pi.
Ensure that VNC is enabled in the Raspberry Pi configuration > Interfaces
- Download the VNC Viewer for your OS (Windows, Linux, OR MAC OS) HERE
- Enter the IP address of the Raspberry in the IP address field and authenticate the Pi using the username -
piand password -raspberry(default). - The VNC Viewer should successfully connect to the Raspberry Pi Desktop, follow the next instructions to configure other settings.

Congratulations for coming this far 🎉🎉, in the next section, we will test out the Thorny IDE on the Raspberry Pi and write some Python code to control a GPIO.
TEST: Controlling GPIOs on the Raspberry Pi
This section essentially demonstrates how to get started with the Raspberry Pi in hardware prototyping. We will write a very basic python script to blink an LED (yeah, you guessed it right!, the Hello World of hardware development).
The Raspberry Pi 3 contains 40 GPIO header pins. The pin-out diagram of a Raspberry Pi 3 is available below for reference.
 SOURCE: - learn.sparkfun.com/tutorials/introduction-t..
To connect the circuit: -
- Connect the Cathode of LED to GND (pin 6)
- Connect a current-limiting resistor to pin 11
- Connect the Anode of LED to the resistor
The circuit diagram can be viewed below (sketched using Fritzing): -

- Create a
blinky.pyfile in the Thorny IDE, and paste the following python script to blink the LED at an interval of 500ms using the RPi.GPIO Library. The documentation can be found HERE
# Import required libraries
import time
import RPi.GPIO as GPIO
GPIO.setwarnings(False)

ledPin = 11
GPIO.setmode(GPIO.BOARD)
GPIO.setup(ledPin, GPIO.OUT)
GPIO.output(ledPin, GPIO.HIGH)

while True:
    GPIO.output(ledPin, GPIO.HIGH)
    time.sleep(0.5)  # Pause for 500ms
    GPIO.output(ledPin, GPIO.LOW)
    time.sleep(0.5) # Pause for 500ms

GPIO.cleanup()  # Cleanup after exiting the program
- Run the script via Thorny to observe the LED blinking sequence 🎉
CONCLUSION
I had this stuck in my drafts for so long, and I just decided to publish it at the end of the year. I really hope it helps you to start building exciting IoT and AI projects using the Raspberry Pi. Thank you for reading friend, Happy new year in advance 🎉🎉.